A practical guide for community organizers
How to Plan a Successful Steak Dinner Fundraiser
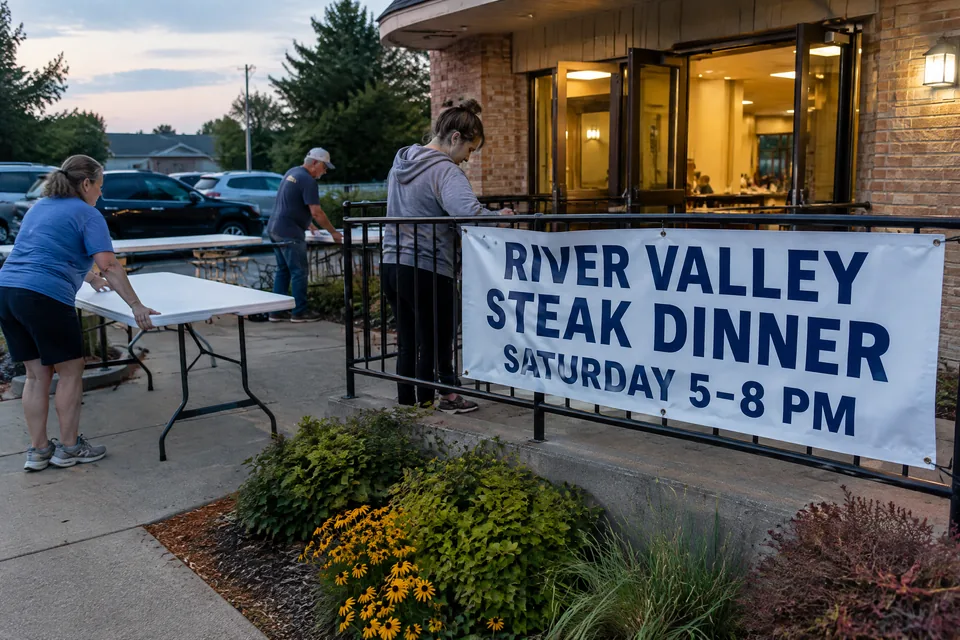
The strongest steak dinner fundraisers begin with a clear purpose, a realistic number of meals, and a plan that protects the event's margin.
Before choosing decorations or announcing the date, decide what the money will support, how many guests the venue and kitchen can actually serve, and what each ticket must cover.
This guide walks through the decisions in the order an organizing committee can use them.
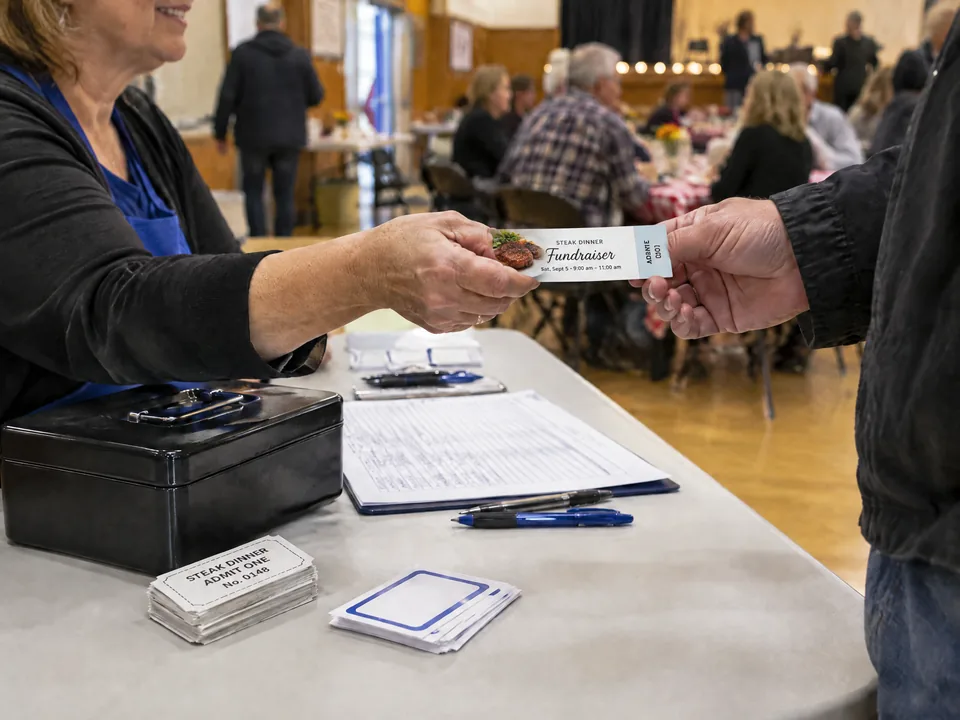
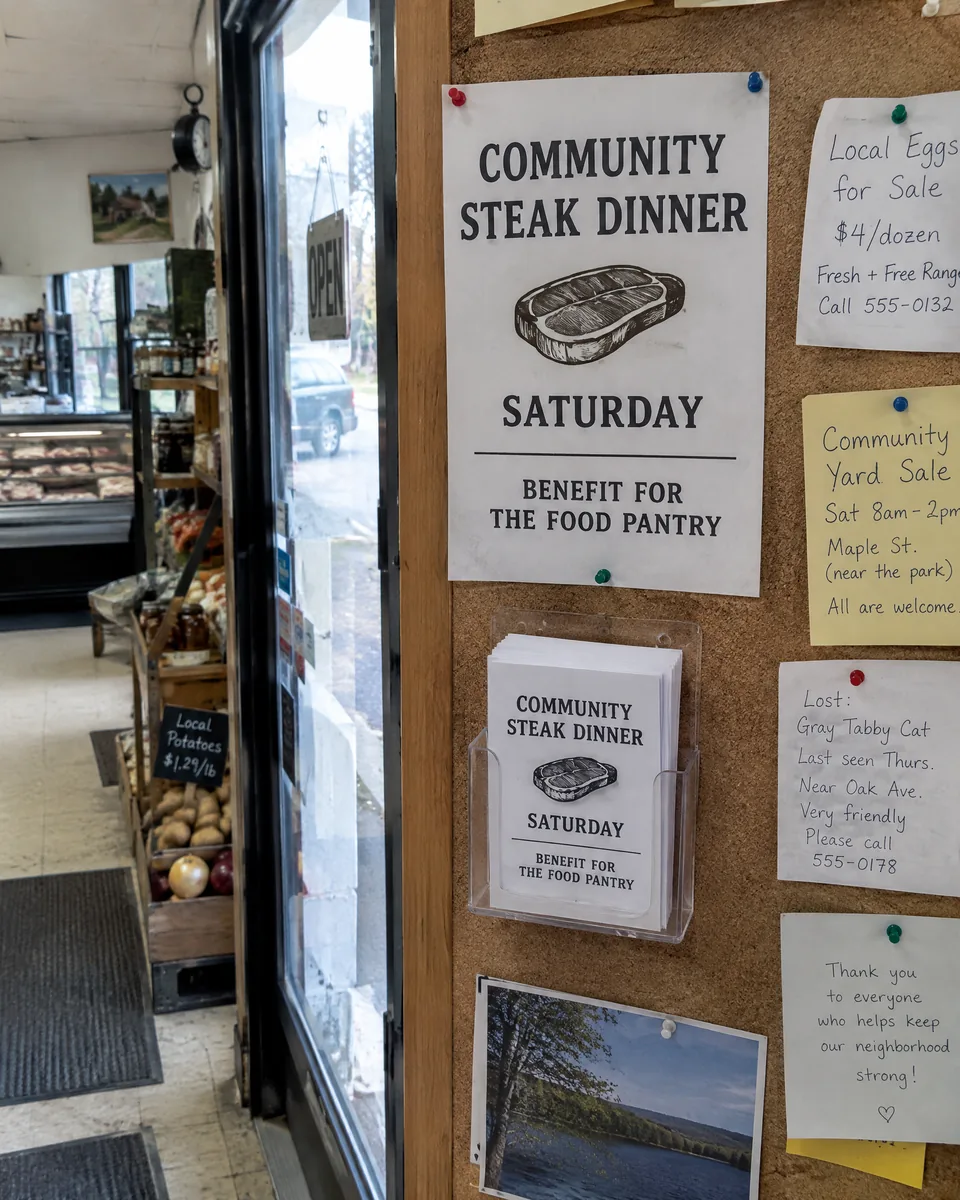
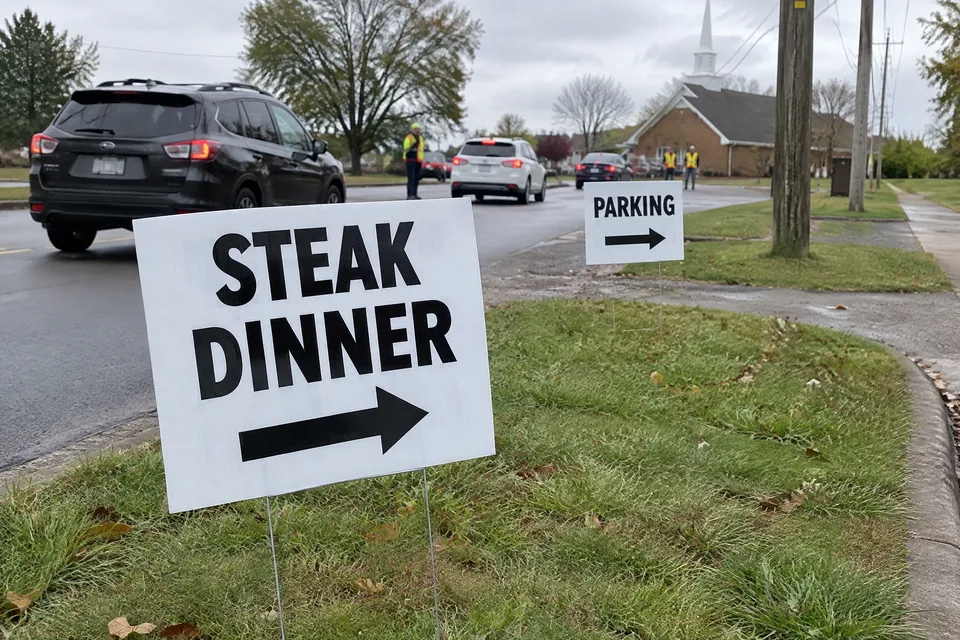
Printed pieces appear where they solve a real problem: tickets control admission and meal counts, flyers and posters build local awareness, a banner confirms the destination, and directional signs reduce confusion when guests arrive.
Printable planning list
- Write the cause and one measurable fundraising goal.
- Confirm venue capacity, kitchen capability, parking, accessibility, and local requirements.
- Set a meal limit before tickets go on sale.
- Build the per-plate budget, then set ticket price and sponsorship goals.
- Assign one lead each for food, tickets and money, volunteers, promotion, and event-day operations.
- Publish one consistent event name, date, time, location, beneficiary, ticket price, and contact method.
- Create a food-safety plan and confirm it with the appropriate local authority.
- Plan check-in, serving, seating, takeout, raffle or donations, cleanup, and post-event thanks.
Step 1 Set Goals and Budget
Decide what success means
Quick checklist
- Primary cause and fundraising target
- Maximum dine-in meals and any separate takeout limit
- Estimated cost per plate and total fixed costs
- Conservative, expected, and sold-out revenue scenarios
- Contingency amount for price changes or last-minute needs
- Start with one primary objective: a dollar amount for a project, a number of families helped, or another result the committee can explain in one sentence.
- A specific purpose makes sponsor conversations and promotional messages clearer, and it gives the final thank-you message something concrete to report.
- Next, set a hard meal capacity from the smallest real constraint—not the most optimistic estimate.
- Compare legal room occupancy, comfortable seating, kitchen output, refrigeration and hot-holding space, volunteer capacity, parking, and the time available for service.
- If the hall seats 250 but the kitchen can reliably plate only 180 meals in the planned window, 180 is the safer starting point.
- Build the budget per meal.
- Include steak, sides, dessert, beverages, disposables, venue expense, permits or insurance when required, payment fees, printing, decorations, cleaning, and a contingency reserve.
- Subtract confirmed sponsor and in-kind support, then test several attendance levels.
- The ticket price should cover the expected cost per guest and leave a defensible contribution to the cause without depending on a sold-out room.
Step 2 Build Your Committee
Make ownership visible
Quick checklist
- Event chair and treasurer
- Food and kitchen lead
- Ticketing and check-in lead
- Promotion and sponsor lead
- Volunteer and setup lead
- One written event-day contact sheet
- A long volunteer list is not the same as clear ownership.
- Name a lead for food and kitchen operations, venue and setup, ticket inventory and money, sponsors, promotion, volunteer scheduling, and event-day guest flow.
- Each lead should know what decisions they can make and what must return to the chair or treasurer.
- Work backward from the event date.
- Reserve the venue and verify local requirements first; then confirm menu, suppliers, ticket price, sponsor plan, and on-sale date.
- Promotion should begin only after the essential details are stable.
- In the final week, freeze the floor plan, volunteer schedule, cash and card procedures, ticket count, meal count, signage locations, and emergency contacts.
- Hold a short event-day huddle before guests arrive.
- Review who handles check-in, who answers ticket questions, how the kitchen communicates that a meal is ready, where takeout orders go, who watches the dining room, and who has authority to solve an unexpected problem.
Step 3 Design the Dinner Ticket
Control the count before event night
Quick checklist
- One ticket equals one clearly defined meal or admission
- Separate handling rule for takeout, children, and door sales
- Number ranges assigned to individual sellers
- One combined presale and online capacity count
- Cutoff date that gives the kitchen a useful final count
- Presold tickets turn interest into a working meal count.
- Decide whether every ticket represents one meal, whether takeout uses a different ticket or notation, whether children have a separate price, and whether door sales will be allowed.
- Put those rules in the sales instructions so volunteers give the same answer.
- Numbered tickets can support inventory control when books are assigned to sellers and returned with money and unsold tickets.
- A retained stub can help with door reconciliation or meal redemption, but extra stubs are useful only when each portion has a defined job.
- Keep the printed ticket easy to read: event name, beneficiary, date, serving time, location, ticket price, what the ticket admits, and a contact method are usually more important than decorative copy.
- Create one ticket ledger.
- Record the number range issued to each seller, the number returned, the number sold, and the money turned in.
- Reconcile throughout the sales period rather than waiting until event day.
- If online reservations are also accepted, keep them in the same capacity count so the kitchen is not promised more meals than it can serve.
Step 4 Review Food Safety Guidelines
Treat safety as an operating plan
Quick checklist
- Local health-department or venue requirements confirmed
- Approved food source and preparation location
- Calibrated thermometers and temperature log
- Separate raw and ready-to-eat work areas
- Handwashing, glove, utensil, cleaning, and allergen plan
- Safe transport, holding, service, and leftover procedures
- Community meal requirements vary by location, venue, menu, and whether food is prepared on site or brought in.
- Contact the appropriate local or state health authority early and follow its direction on permits, approved kitchens, handwashing, food sources, transport, allergen communication, and service.
- Do not assume that a familiar annual event is exempt from current requirements.
- USDA guidance for volunteers preparing food for groups emphasizes cleanliness, safe preparation, and prompt refrigeration.
- FoodSafety.gov lists 145°F (63°C) with a three-minute rest for whole beef steaks and 160°F (71°C) for ground meat.
- Use calibrated food thermometers; appearance and color are not reliable safety checks.
- Write down who receives cold food, who monitors refrigeration, who checks cooking temperatures, who watches hot and cold holding, and what happens to food that falls outside the approved control plan.
- Keep raw-meat handling separate from ready-to-eat foods, provide adequate handwashing and clean utensils, and prepare a documented cleanup and leftover plan.
Step 5 Promote the Dinner
Make the message easy to repeat
Quick checklist
- One verified event-information sheet
- Seller message and ticket-sales deadline
- Partner and sponsor sharing list
- Community calendars, email, social, and local media schedule
- Flyer, poster, and banner placement permissions
- Removal date for every public sign or poster
- Build every announcement from the same fact sheet.
- Use one event name and repeat the beneficiary, date, serving time, location, ticket price, purchase method, sales deadline, takeout availability, and contact information exactly.
- Consistency matters more than inventing a different slogan for every channel.
- Begin with people who already trust the organization: members, families, past supporters, sponsors, partner businesses, and neighboring organizations.
- Give ticket sellers a short message they can say naturally.
- Then expand with community-calendar listings, email, social posts, local media, flyers at cooperating businesses, and posters where the intended audience already visits.
- Printed promotion should match the distance and decision.
- A flyer can explain details and be handed out or posted; a poster needs a clear headline readable at a glance; a banner identifies the venue or announces the event from farther away.
- Ask permission before placing materials and schedule a date to remove them.
Step 6 Review Plan from Parking to Cleanup
Design the guest journey
Quick checklist
- Entrance, accessible route, parking, and takeout path checked
- Presale, door-sale, and problem-resolution lines separated
- Cash and card procedures assigned and secured
- Kitchen-to-serving communication method
- Live meal count and authority to stop sales
- Cleanup crew and closing checklist
- Visit the site at the same time of day the dinner will take place.
- Check where the entrance is visible, where traffic can safely turn, where guests with mobility needs can park, how the check-in line will form, and whether the route to seating and takeout is obvious.
- Use only signs that the property owner and local rules allow.
- Separate tasks that create bottlenecks.
- A greeter can direct presold guests, door buyers, takeout customers, and guests with accessibility needs before they reach the check-in table.
- The check-in team should not also be responsible for solving every volunteer or kitchen question.
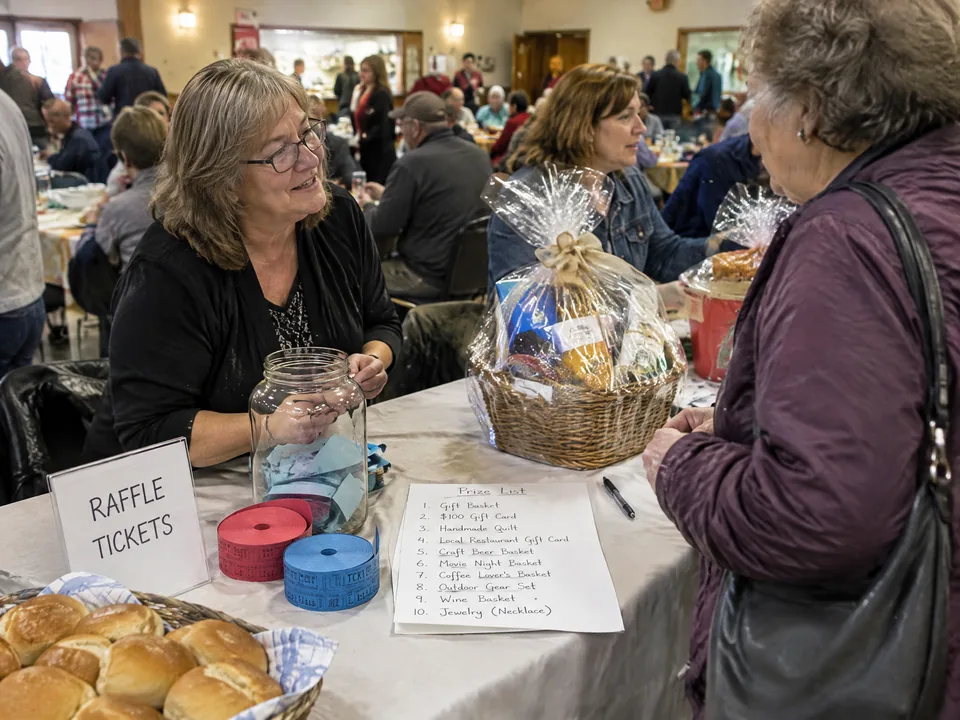
- If there is a raffle or donation station, place it where interested guests can stop without blocking meal service.
- Create a simple count at each critical handoff: guests checked in, door tickets sold, meals served, takeout meals released, and remaining meal capacity.
- Agree in advance who can authorize additional door sales or announce that the event is sold out.
Step 7 Add extra Fundraising Sources
Protect the mission and the margin
Quick checklist
- Specific sponsor requests and recognition plan
- Legal and organizational approval for any raffle or gaming activity
- Separate controls for donations, raffle receipts, and dinner sales
- Prompt deposit and two-person reconciliation where practical
- Thank-you and results message within the organization’s chosen timeline
- Written debrief for the next committee
- Sponsors and in-kind donors can improve the fundraiser before the first ticket is sold.
- Ask for specific help—venue use, food items, printing, a matching gift, or supplies—and explain how support will be recognized.
- Track donated goods at their fair event-planning value so the committee understands the true cost and can thank contributors accurately.
- A raffle, silent auction, dessert table, or direct donation station may increase proceeds, but each adds rules, volunteers, money handling, and guest communication.
- Raffles and gaming-related activities are regulated differently by state and locality; verify that the organization and event are eligible before selling chances or printing raffle materials.
- After the dinner, deposit funds according to the organization’s controls, compare actual results with the budget, and document unsold tickets, food variance, sponsor support, and lessons for next year.
- Thank guests, volunteers, sponsors, and venue partners promptly.
- Share both the amount raised and what the proceeds will make possible.
Suggested Products for Steak Dinner Fundraisers
- Event tickets — Use for presales, admission, meal counts, numbering, and seller reconciliation.
- Custom flyers — Use for handouts, local bulletin boards, and event details that need more room.
- Small and large posters — Use for readable announcements where people already stop, gather, or wait.
- Vinyl banners — Use for approved outdoor promotion, venue identification, and longer viewing distances.
Frequently asked questions
How far ahead should a steak dinner fundraiser be planned?
The right lead time depends on venue, local requirements, meal complexity, ticket-sales method, and volunteer capacity. Reserve the venue and confirm health, insurance, and permit requirements first; then set an on-sale date that leaves enough time to produce tickets, recruit sellers, promote the event, and give the kitchen a useful final meal count.
What information belongs on a steak dinner fundraiser ticket?
Prioritize the host or beneficiary, event name, date, serving time, location, ticket price, what the ticket admits, any important takeout or sales-deadline rule, and a contact method. Add a number or stub only when it supports the event's tracking or redemption process.
How many tickets should the committee print?
Start from the event's approved meal capacity and sales plan, not from an arbitrary round number. Account for online reservations, sponsor or complimentary meals, volunteers who will eat, takeout capacity, and any controlled door-sale reserve before setting the printed quantity.
Should the steak dinner include a raffle?
Only if the organization is eligible, the activity complies with applicable state and local rules, and the committee has enough trained volunteers to run it without disrupting the meal. Treat raffle tickets, money, drawings, and reporting as a separate controlled process.
What printed pieces are most useful for a steak dinner fundraiser?
Admission or meal tickets support presales and counts; flyers and posters support local promotion; a banner can identify the venue or announce the event; and directional signage may help guests if it is permitted. Use only the pieces that solve a real communication or operating need.